Add a new user
Want to give employees access to Quinto? Follow the steps in this article when you just have a few users to add. We also have a user import that allows you to bulk-create accounts.
Creating an account
You’ll need the user’s name and work email address to create their account.
Click the gear icon on the top right of your screen.
Select User management in the dropdown.
Click Add on the top right of your screen.
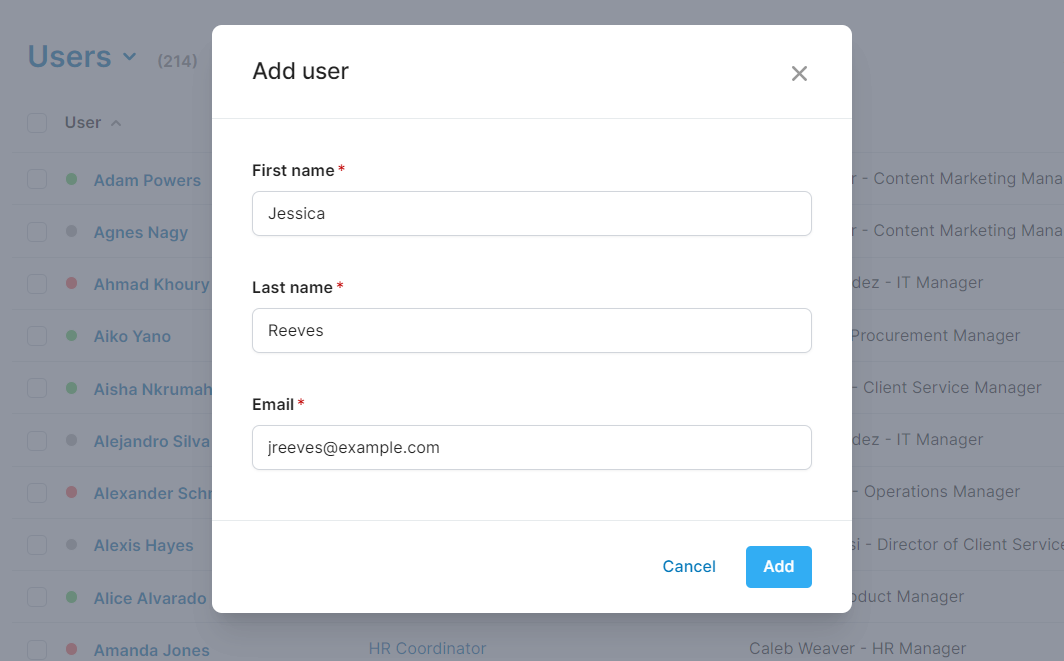
Enter the user’s first and last name.
Enter their email address. This needs to be unique.
Click Add. A new page opens displaying the user’s details with optional fields.
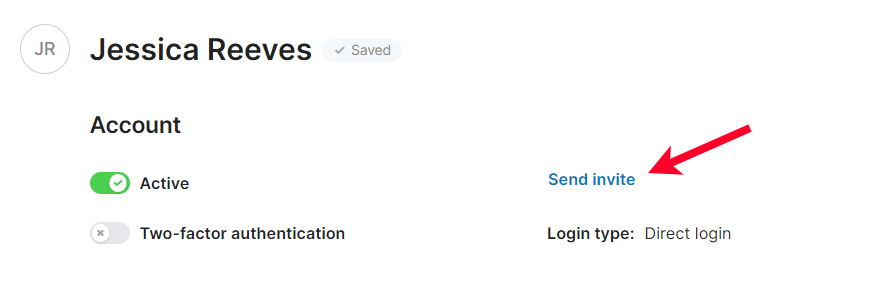
Turn on the Active switch to enable their account. A user needs to be active to log in.

Assigning permissions
The next step is to decide how much access this user needs. They will be assigned a default permission set, but you can assign additional permission sets depending on their role in Quinto.
Click the gear icon on the top right of your screen.
Select User management in the dropdown.
Find the user in the table and click their name.
Click Add in the Access section to open a list of permission sets.
Select the permission sets that you want to assign to this user.

Click here to learn more about permission sets and licenses.
Sending an invitation
Now that you’ve created an account and added the permissions this user needs, you’re ready to send an invite so they can log in to Quinto. Click here to learn how to customize this email.
Click the gear icon on the top right of your screen.
Select User management in the dropdown.
Find the user in the table and click their name.
Select Send invite in the Account section.

The user receives an email with a link to set their password. Once the user logs in, we replace the invite date with their last login date.
